


To create an EC2 (Elastic Compute Cloud) instance in AWS (Amazon Web Services), you can follow these general steps:
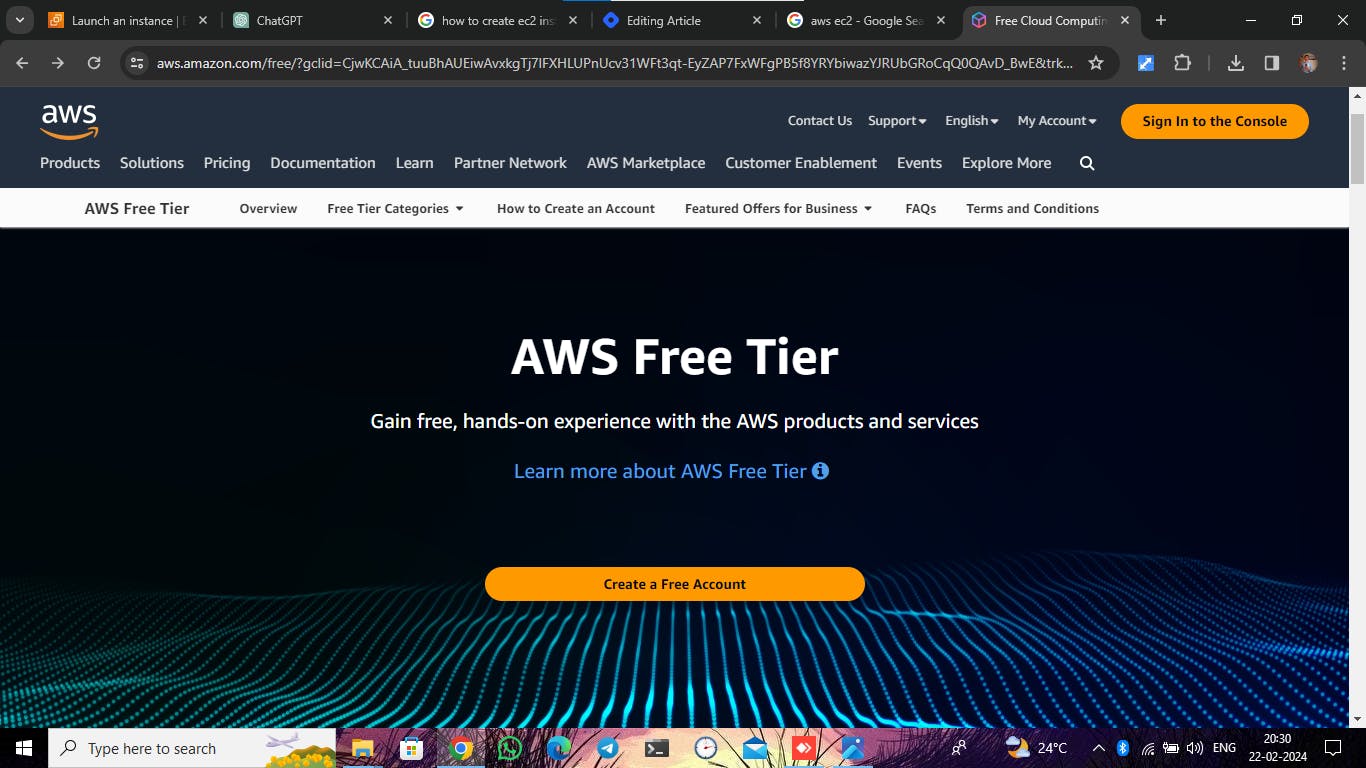
Sign in to the AWS Management Console: Go to the AWS Management Console at https://aws.amazon.com/ and sign in to your AWS account.
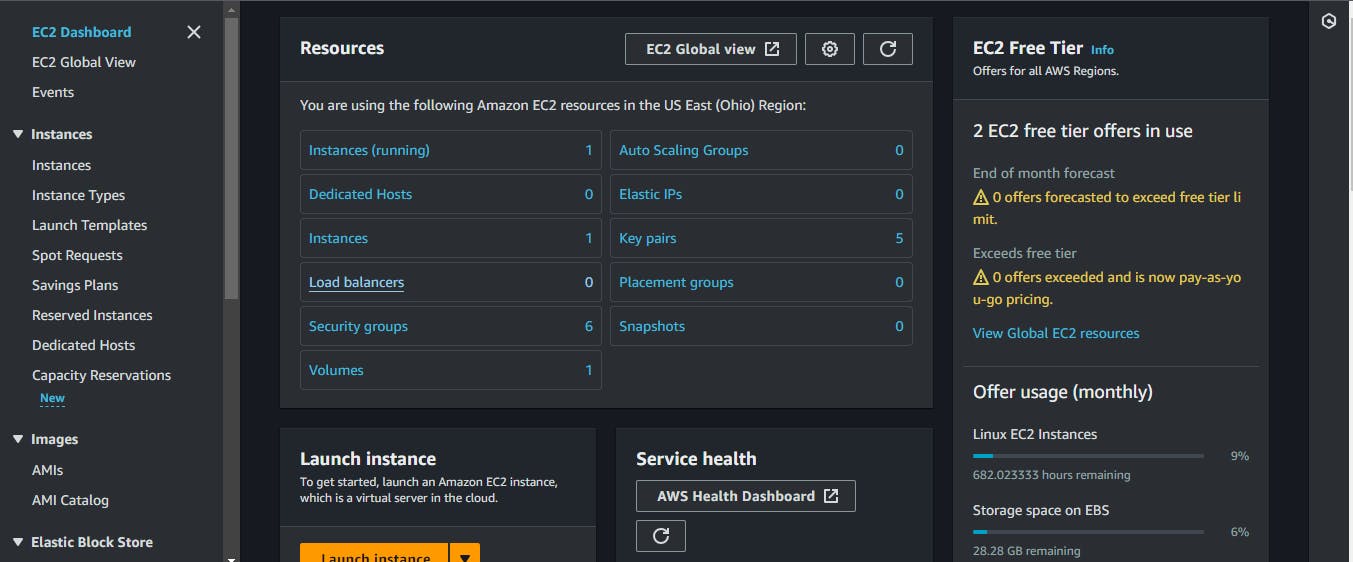
Navigate to EC2 Dashboard: Once you're logged in, navigate to the EC2 dashboard. You can find it under the "Compute" section or by searching for "EC2" in the AWS Management Console search bar.
Launch Instance: Click on the "Launch Instance" button to begin the process of launching a new EC2 instance.

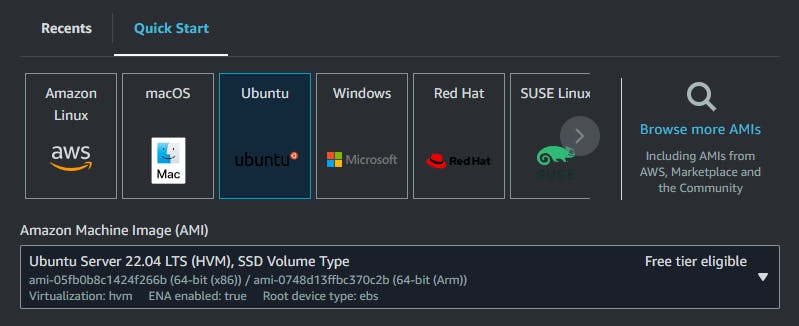
Choose an Amazon Machine Image (AMI): Select an AMI that best suits your requirements. An AMI is a template that contains the software configuration (like an operating system, application server, and applications) required to launch your instance.
Choose an Instance Type: Select an instance type based on your computational and memory requirements. AWS offers a variety of instance types optimized for different workloads.

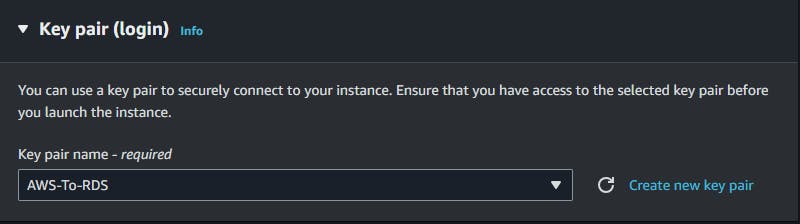
Select Key Pair: If you don't have an existing key pair, you'll need to create a new one. A key pair allows you to securely connect to your instance using SSH (for Linux instances) or RDP (for Windows instances).
Network setting :

Configure Instance Details: Specify details such as the number of instances you want to launch, networking settings, and IAM (Identity and Access Management) roles. You can also configure additional features such as monitoring, termination protection, and user data scripts in this step.
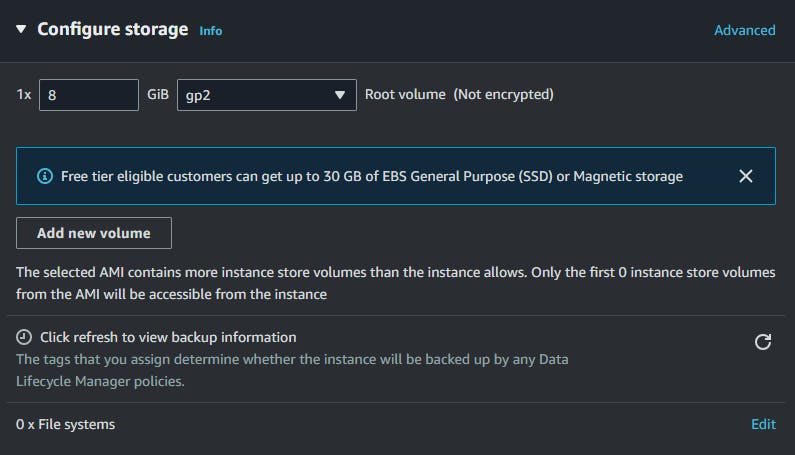
Add Storage: Specify the size and type of the root volume and any additional volumes you want to attach to your instance. You can also configure options like encryption and volume type (e.g., General Purpose SSD, Provisioned IOPS SSD, etc.).
Add Tags (Optional): You can add tags to your instance to help organize and identify resources. Tags are key-value pairs that you can use for billing, resource management, and automation.
Configure Security Group: A security group acts as a virtual firewall for your instance to control inbound and outbound traffic. You can create a new security group or select an existing one. Make sure to configure appropriate rules to allow necessary traffic to your instance.
Review Instance Launch: Review all the configurations you've made for your instance. Once you're satisfied, you can click "Launch" to initiate the instance creation process.
Launch Instance: After selecting or creating a key pair, click "Launch Instances" to finalize the process. AWS will now provision the EC2 instance based on your specifications.
Once the instance is launched, you can connect to it using SSH or RDP, depending on the operating system you chose, and begin configuring and using it as needed.